

Know When You Need a Contractor
Not every home repair calls for a professional, but some jobs genuinely do - and misjudging that line can be costly or dangerous. Electrical panel upgrades, structural changes, gas line work, and most plumbing that connects to the main supply are areas where licensed contractors aren't just helpful, they're often legally required.
If you're weighing whether to hire out or tackle something yourself, our guide on signs a home repair job is beyond the DIY threshold covers the key indicators. It's also worth understanding the hidden costs of DIY renovation projects before assuming the self-directed route saves money.
Don't Skip the Permit Step
Unpermitted work - especially electrical, plumbing, or structural changes - can create serious complications when you sell your home, file an insurance claim, or need future repairs. In most jurisdictions, the licensed contractor is responsible for pulling required permits. Ask upfront who handles permitting, and verify with your local building department what's required for your specific project.
Define the Scope Before You Call Anyone
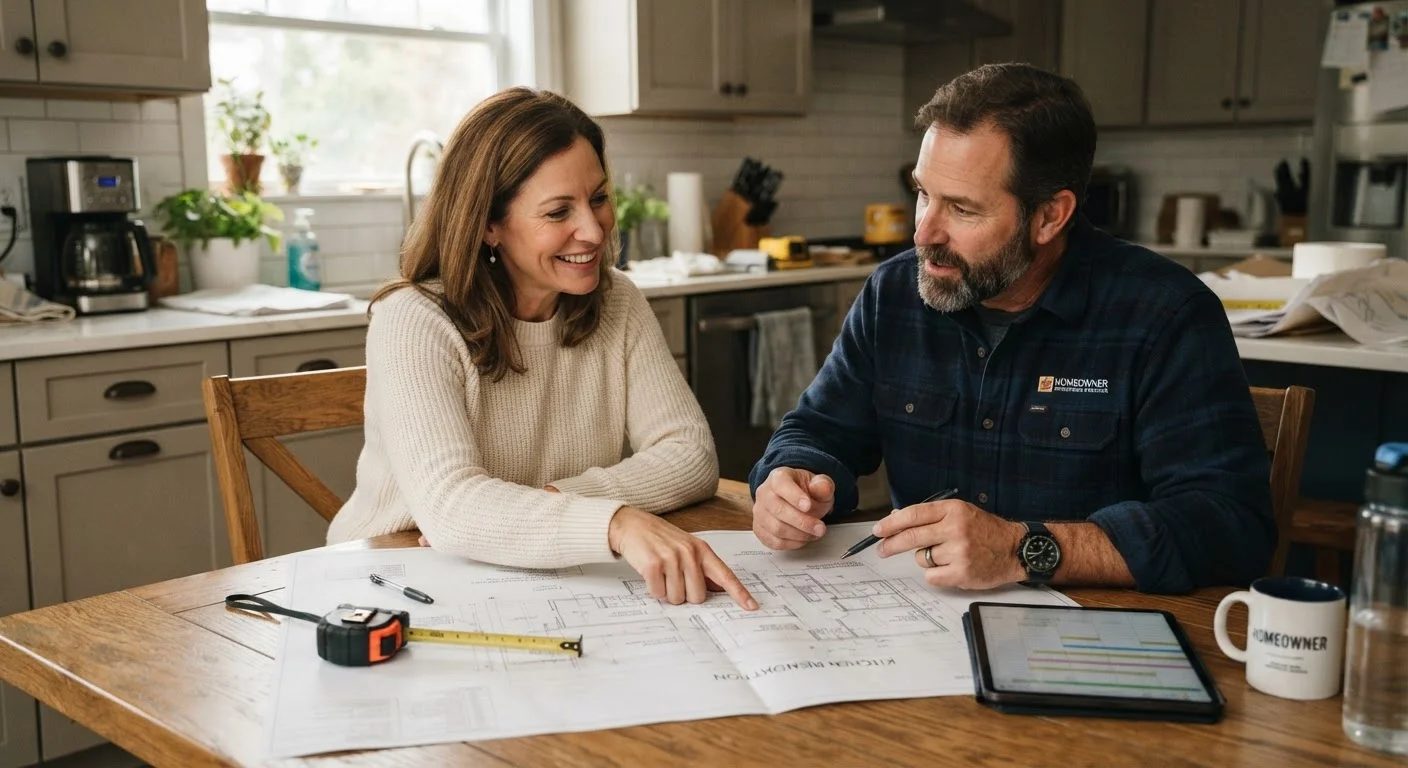
Contractors can't give you accurate bids if you can't tell them what you want done. Before making a single phone call, write out a clear project description: what rooms are involved, what materials you already have opinions about, what your rough budget range is, and what your timeline looks like.
You don't need architectural drawings for most jobs, but a written scope - even a bulleted list - keeps every bidder responding to the same parameters. This makes comparing quotes meaningful. Use our room-by-room renovation readiness checklist to make sure you haven't overlooked permit requirements, utility shutoffs, or material lead times before demo day.
Write your project scope before reaching out to contractors, even if it's just a one-page summary with photos. Contractors give sharper, more comparable bids when every bidder is responding to the same document.
Vague project descriptions lead to vague bids - and vague bids lead to disputes over what was actually included in the price.
When checking references, ask specifically whether the contractor left the job site clean each day and whether they showed up when they said they would. Punctuality and site cleanliness are reliable proxies for overall professionalism.
These details are easy to overlook when you're focused on cost and quality, but they significantly affect your day-to-day experience living through a renovation.
Vetting Licenses, Insurance, and References
This step is where homeowners most often cut corners - and pay for it later. Every state has its own contractor licensing requirements. Look up your state's contractor license lookup tool (most state licensing boards publish one online) and verify the license number a contractor provides is current and in good standing.
Beyond licensing, confirm two types of insurance: general liability (covers damage to your property) and workers' compensation (covers injuries to workers on your property). Ask for certificates of insurance and call the insurer directly to confirm they're active - don't just accept a document at face value.
Finally, ask for three to five references from projects similar in scope to yours, completed within the past two years. Actually call them. Ask whether the contractor stayed on budget, finished on time, communicated well, and addressed problems promptly.
~35%
Homeowners who skip reference checks
Industry surveys consistently find that a substantial share of homeowners skip reference verification entirely, which correlates with higher rates of contractor disputes.
1 in 3
Renovation projects that exceed initial budget
According to home improvement research, roughly one in three remodeling projects ends up over budget, often due to underdefined scope or unvetted bids.
Getting and Comparing Bids
Request bids from at least three contractors. Each bid should be itemized - materials, labor, disposal fees, and any subcontractor work listed separately. A single lump-sum number tells you almost nothing about where the money goes or where surprises might emerge.
When comparing bids, look beyond the bottom line. A significantly lower bid sometimes means a contractor is cutting corners on materials, underestimating the job, or planning to request change orders later. A higher bid may reflect more experienced labor or better materials - ask what's behind the number. Clarify any line item you don't understand before signing anything.
Reading and Signing the Contract
A written contract is non-negotiable. At minimum, it should include: the full scope of work, a detailed materials list, the payment schedule, start and estimated completion dates, how change orders will be handled, and warranty terms for both labor and materials.
Pay close attention to the payment schedule. A common structure is an initial deposit (often 10-30% depending on project size), progress payments tied to specific milestones, and a final payment held until completion. Be cautious of any contractor who asks for more than 50% upfront - that's an industry red flag.
Also confirm who is responsible for pulling permits. In most jurisdictions, the licensed contractor is responsible for obtaining required permits, and the work must pass inspection before it's considered complete. Never agree to skip permits to save time or money - unpermitted work can create serious problems when you sell your home or make an insurance claim.
Managing the Project Once Work Begins
Once work starts, your job is to stay informed without micromanaging. Establish a single point of contact - usually the lead contractor or project manager - and agree upfront on how you'll communicate: daily check-in texts, end-of-day summaries, or weekly in-person walkthroughs.
Keep a simple project log. Note what work was done each day, who was on site, and any decisions made verbally. If a change order comes up - and on any substantial project, it likely will - get it in writing before the work proceeds. A signed change order protects both parties and keeps the final invoice from being a surprise.
If something looks wrong, say so promptly. Waiting until the end to raise concerns makes corrections far more complicated and expensive.
Final Walkthrough and Payment
Before releasing final payment, do a formal walkthrough with the contractor. Work through a punch list - a written list of any items that are incomplete or don't meet the agreed standard. Give the contractor a reasonable deadline to resolve each item.
Confirm that all required inspections have been completed and passed, and that you've received all relevant documents: warranties, permit sign-offs, manuals for any installed equipment, and receipts or documentation for materials used.
Only release final payment when the punch list is clear and all inspections are closed. This is your most effective leverage point - use it thoughtfully, not as a negotiating tactic, but as a genuine quality checkpoint. If you're planning a larger renovation and want context on the broader homeownership timeline, our walkthrough of the home purchase process start to finish offers useful framing on how these investments fit into your long-term home goals.
The content on this site is provided for informational purposes only and should not be considered a substitute for professional advice. While we strive to provide accurate and up-to-date information, we make no guarantees regarding its completeness or accuracy. Always consult a qualified professional for advice specific to your circumstances before making any decisions.