

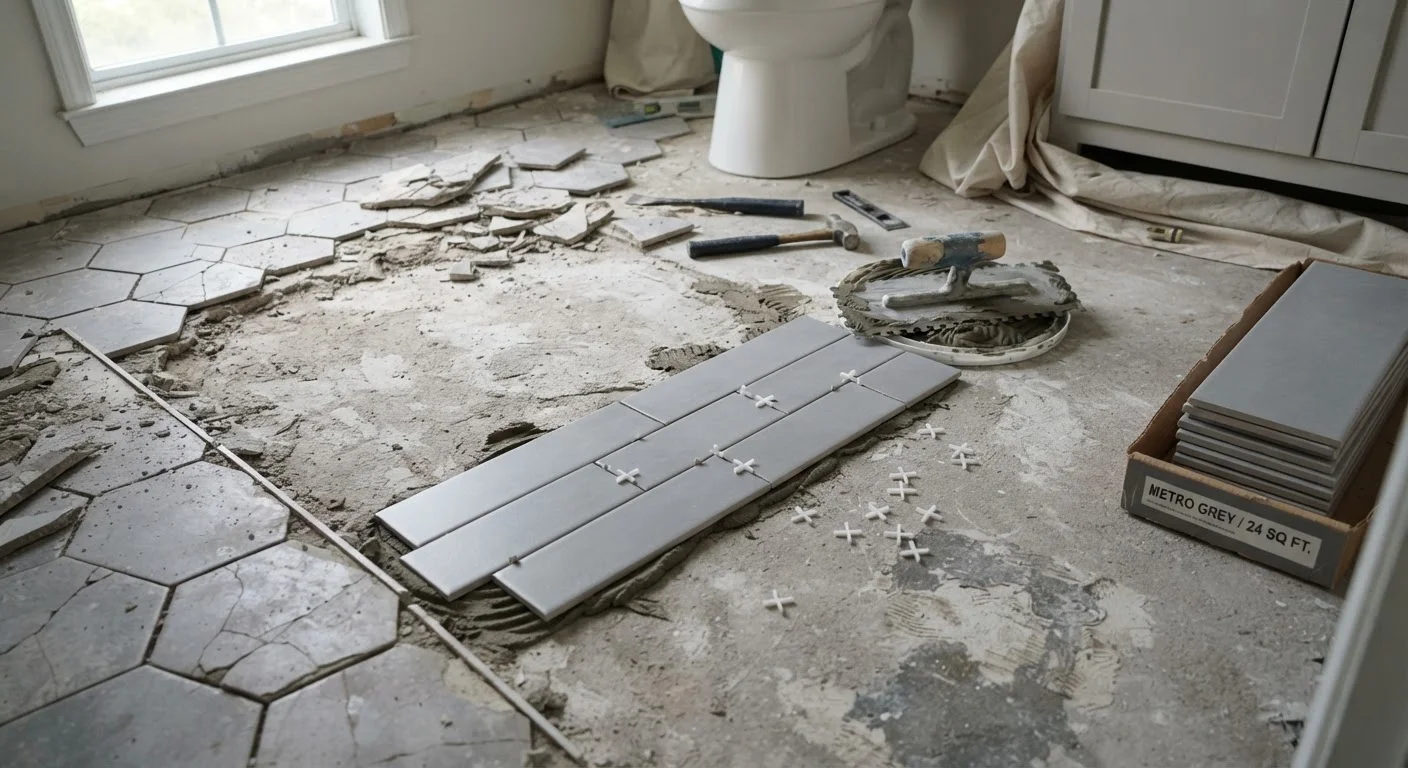
What You Need Before You Begin
Bathroom tile replacement is a satisfying project with a clear payoff - but it rewards preparation. Before demo day, read through our room-by-room renovation readiness checklist to make sure permits, utilities, and materials are sorted in advance. Most municipalities don't require a permit for cosmetic tile work, but if you're replacing a shower pan or working near plumbing, check with your local building department.
Gather all tools and materials before you start so you're not making mid-project supply runs. Tile, thinset mortar, grout, and backer board can all be purchased at home improvement stores. If you're unsure about the difference between thinset, mortar, and grout, our homeowner's field guide to grout, mortar, and thinset explains exactly what each product does and when to use it.
Cold chisel and hammer
Used to break the bond between tiles and the substrate during removal.
Oscillating multi-tool
Speeds up tile removal and helps cut through grout lines precisely.
Notched trowel
Spreads thinset mortar in uniform ridges to ensure proper tile adhesion.
Rubber mallet and beating block
Seats tiles evenly into mortar without cracking them.
Wet tile saw
Makes accurate, clean cuts on ceramic, porcelain, or stone tile.
Rubber grout float
Presses grout into joints and spreads it across the tile surface.
Tile spacers
Maintain consistent joint width between tiles for even grout lines.
Long straightedge or level
Checks the substrate and set tile for flatness and plumb alignment.
Step-by-Step: Removing, Setting, and Grouting
Work through the steps below in order. Skipping ahead - especially through the substrate prep and curing stages - is the most common cause of failed tile installations. Each phase builds on the last.
Protect the space and suit up
Turn off the water supply if you're working near a shower or tub. Lay drop cloths over fixtures and the floor drain to catch debris. Put on safety glasses, work gloves, and a dust mask - tile shards are sharp and tile dust can irritate lungs. Keep the bathroom ventilated.
Remove the old tile
Start at a grout joint or a cracked tile rather than a solid field. Use a cold chisel and hammer or an oscillating multi-tool to break the bond between tiles and the substrate. Work at a low angle to the wall or floor to avoid gouging the backer board beneath. Remove tiles section by section, prying with a putty knife or floor scraper to collect broken pieces as you go.
Clean and assess the substrate
Once all tile is removed, scrape off residual thinset with a floor scraper or angle grinder with a diamond cup wheel. The substrate - typically cement backer board or a mortar bed - must be flat, firm, and clean. Use a long straightedge to check for high and low spots. Any variation greater than 1/4 inch over 10 feet needs to be addressed with a floor-leveling compound or by replacing damaged backer board sections.
Lay out your tile pattern before mixing mortar
Dry-lay a row of tiles across the floor or wall, including spacers, to plan your layout. Start from the center of the room or a focal wall rather than a corner - corners are rarely square. Mark your starting lines with a chalk line. This prevents awkward slivers of tile at the most visible edges.
Mix and apply thinset mortar
Mix thinset according to the manufacturer's directions - typically the consistency of peanut butter, with no dry lumps. Use a notched trowel (the notch size should match your tile size - check the tile packaging) to spread mortar on the substrate in sections no larger than you can tile in about 15 minutes. Comb the mortar in one direction to create consistent ridges. Apply a thin skim coat to the back of each tile as well (called back-buttering) to ensure full coverage.
Set the tile
Press each tile firmly into the mortar with a slight twisting motion, then seat it by tapping with a rubber mallet and beating block. Insert tile spacers at each corner to maintain consistent joint width. Periodically lift a tile to check that mortar covers at least 80% of the back surface (95% in wet areas like showers). Continue section by section, checking for level and plumb as you go.
Cut tiles for edges and obstacles
Measure and mark tiles for cuts around edges, outlets, or fixtures. A wet saw with a diamond blade gives the cleanest, most accurate cuts. A manual tile cutter works for straight cuts on thinner tile. Smooth cut edges with a tile file or rubbing stone before setting. Fit cut pieces last, after the field tile is set.
Let the mortar cure, then grout
Allow thinset to cure for a minimum of 24 hours before grouting - longer in humid conditions. Remove tile spacers before the mortar fully hardens. Mix grout to a smooth, lump-free consistency. Working in small sections, spread grout diagonally across joints using a rubber grout float, pressing it firmly into each joint. Within 10-15 minutes, wipe excess grout from tile faces with a damp sponge, rinsing frequently. Finish with a final buff using a clean dry cloth once a light haze forms.
When to Call a Pro Instead
DIY tile replacement is well within reach for most homeowners on flat floors and simple walls. However, tiled shower pans, steam rooms, or any area with a waterproofing membrane typically require professional installation to meet code and avoid costly water damage. If you're unsure whether your project crosses that line, a consultation with a licensed tile contractor is worth the time.
If at any point you discover rotted backer board, significant mold, or structural damage beneath the old tile, stop work and consult a licensed contractor before proceeding. Our guide on what hiring a contractor actually looks like can help you navigate that process confidently.
The content on this site is provided for informational purposes only and should not be considered a substitute for professional advice. While we strive to provide accurate and up-to-date information, we make no guarantees regarding its completeness or accuracy. Always consult a qualified professional for advice specific to your circumstances before making any decisions.