

What Number Porting Actually Means
Number porting is the federally protected right to keep your mobile phone number when you switch carriers. The FCC requires carriers to transfer your number within one business day of a valid request. In practice, the process is largely automated and often completes the same day.
The key principle: the new carrier drives the process. You provide your credentials, they submit the porting request, and your old account closes once the transfer is confirmed. Understanding this prevents the most common mistake people make - calling the old carrier to cancel before the port is done.
Never Cancel Your Old Account First
Canceling your existing wireless account before the number port completes will permanently release your phone number. Once released, that number cannot be recovered and will eventually be assigned to someone else. Always let the new carrier initiate and complete the transfer - your old account closes automatically when the port succeeds.
If you are also switching home internet at the same time, the process is different - see our walkthrough for switching internet providers for that context.
Before You Start: Plan and Device Checks
A smooth switch starts with two quick checks done before you approach any new carrier.
Contract and payoff status: If you are still in a device installment plan, you will owe the remaining balance - either before switching or carried forward if the new carrier offers a trade-in or payoff promotion. Understand what you owe so there are no surprises.
Phone compatibility: A phone locked to your current carrier will not fully function on a new one until unlocked. Most carriers unlock devices automatically once they are paid off and any required service period is met. Confirm unlock status before porting.
Check Network Compatibility Before Switching
Not all phones work on all networks. Carriers in the U.S. use different radio frequency bands, and a device optimized for one carrier may have limited coverage on another. Check the new carrier's device compatibility tool - usually available on their website - before committing to the switch. Incompatible devices may experience reduced speeds or missing coverage in some areas.
Once you have confirmed your device is unlocked and you understand your financial obligations, you are ready to gather your credentials and begin. For a deeper look at what to evaluate in a plan before signing, matching a plan to your actual usage is a practical next step.
What you will need
Step-by-Step: How to Port Your Number
Follow these steps in order. Each one builds on the last, and skipping ahead - especially canceling your old account early - is the most reliable way to create problems.
Review your current contract and device status
Before contacting any new carrier, confirm two things: whether you are still under a contract or installment plan, and whether your phone is carrier-locked. Early termination fees or remaining device payments can affect the true cost of switching. Log into your current carrier's account portal or app to find your contract end date and device payoff balance.
For guidance on what carrier-locked means in practice, see our guide to locked vs. unlocked phones.
Gather your account credentials from your current carrier
To port your number, the new carrier needs your account number, your account PIN or passcode, and your billing ZIP code. Find your account number on a recent paper or digital bill, or inside your carrier's app under account settings. Your PIN is a separate code - often set when you opened the account - distinct from your phone's screen lock.
If you do not remember your PIN, call your carrier's customer service line to reset it before initiating the port.
Choose and activate your new plan
Select your new carrier and plan before touching your old account. If you are still comparing options, use the pre-commitment checklist to evaluate your real usage needs first. Once decided, sign up through the new carrier's website, app, or store. You will be asked whether you want a new number or to transfer your existing one - choose to transfer.
Submit your porting information to the new carrier
When prompted during signup, enter your current account number, PIN, and billing ZIP code exactly as they appear on your account. Even a minor mismatch - an extra digit, an outdated ZIP code - can reject the port request. Double-check each field before submitting.
The new carrier submits a porting request to your old carrier on your behalf. You do not need to call your old carrier separately.
Install your new SIM or activate your eSIM
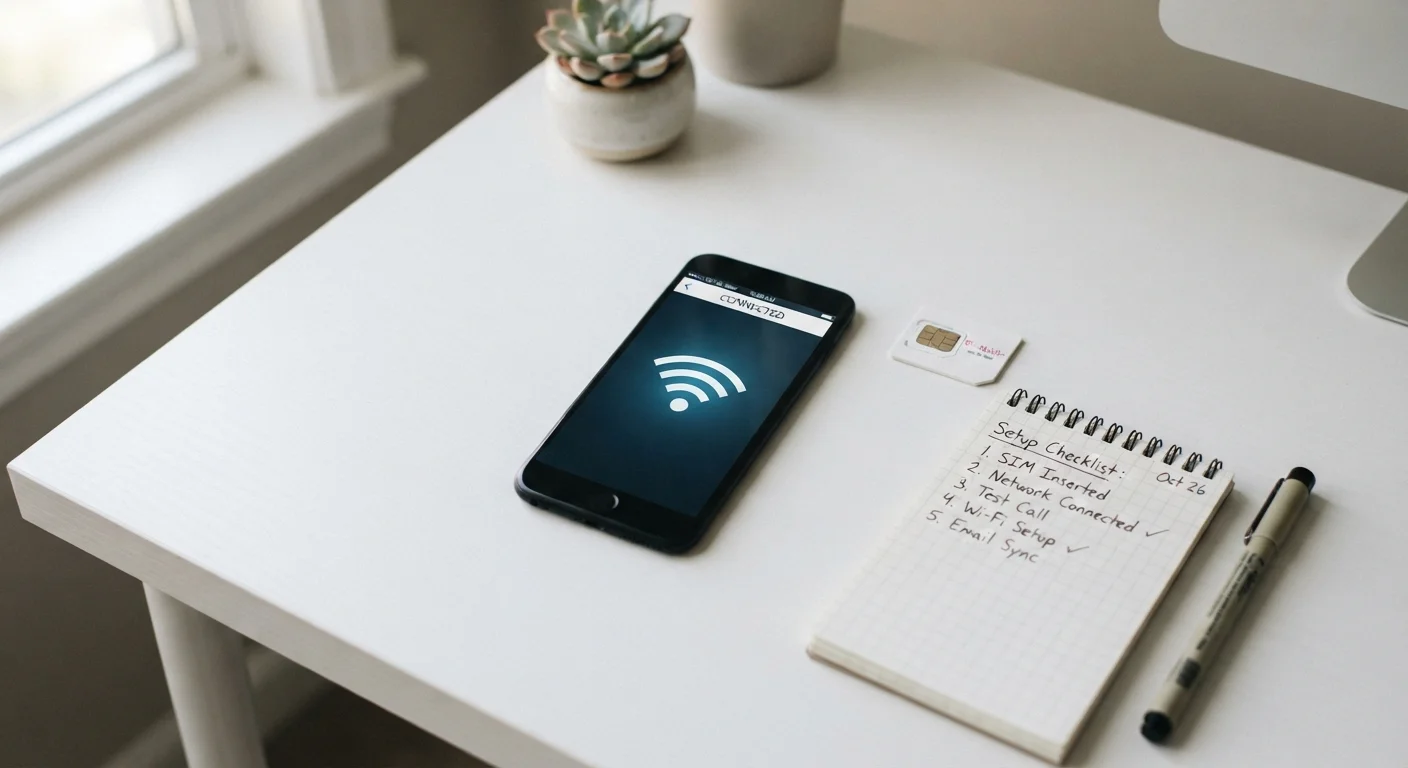
If you received a physical SIM card, power off your phone, swap the SIM, and power back on. If your device supports eSIM - a digital SIM embedded in the phone - the new carrier will provide a QR code or activation code to scan through your phone's settings. Follow the carrier's specific activation instructions, as the process varies slightly by device and carrier.
Confirm the port and test your service
Porting typically completes within one to four hours, though it can take up to 24 hours in some cases. You will usually receive a confirmation text or email from the new carrier. Once notified, make a test call, send a text, and verify that mobile data is active. If anything is not working, contact the new carrier's support - do not contact your old carrier, as the port is managed by the receiving carrier.
After everything works correctly, your old service will have ended automatically. No further action on that account is typically required unless you had a separate billing cycle to reconcile.
Understand the Terms Before You Sign
Carrier plan language can be confusing - words like 'throttling,' 'deprioritization,' and 'MVNO' carry specific meanings that affect your experience. Before committing to any plan, review our plain-language carrier jargon guide so you can read the fine print with confidence.
After the port confirms and your service is working normally, take a moment to verify that voicemail, mobile data settings, and any Wi-Fi calling features are configured correctly on the new network. These occasionally require manual setup after switching.
The content on this site is provided for informational purposes only and should not be considered a substitute for professional advice. While we strive to provide accurate and up-to-date information, we make no guarantees regarding its completeness or accuracy. Always consult a qualified professional for advice specific to your circumstances before making any decisions.