

Why Caulk Keeps Failing on You
Caulk is one of the most-used materials in any home, yet it's also one of the most frequently misapplied. That crack along your tub surround or the peeling line under the windowsill almost always traces back to a preventable mistake-not a product defect. Understanding why caulk fails puts you in control of getting a seal that actually holds.
The good news: caulk failure is predictable. The same handful of errors show up again and again, and avoiding them doesn't require special skills-just the right sequence and a little patience. Just as skipping prep steps causes paint to peel (see what homeowners get wrong about paint prep), cutting corners before caulking leads to the same short-lived frustration.
Applying caulk to a damp or dirty surface.
Why it happens: Homeowners often caulk right after cleaning, not realizing the surface needs to be completely dry. Soap residue, dust, and oils are also invisible barriers that prevent adhesion.
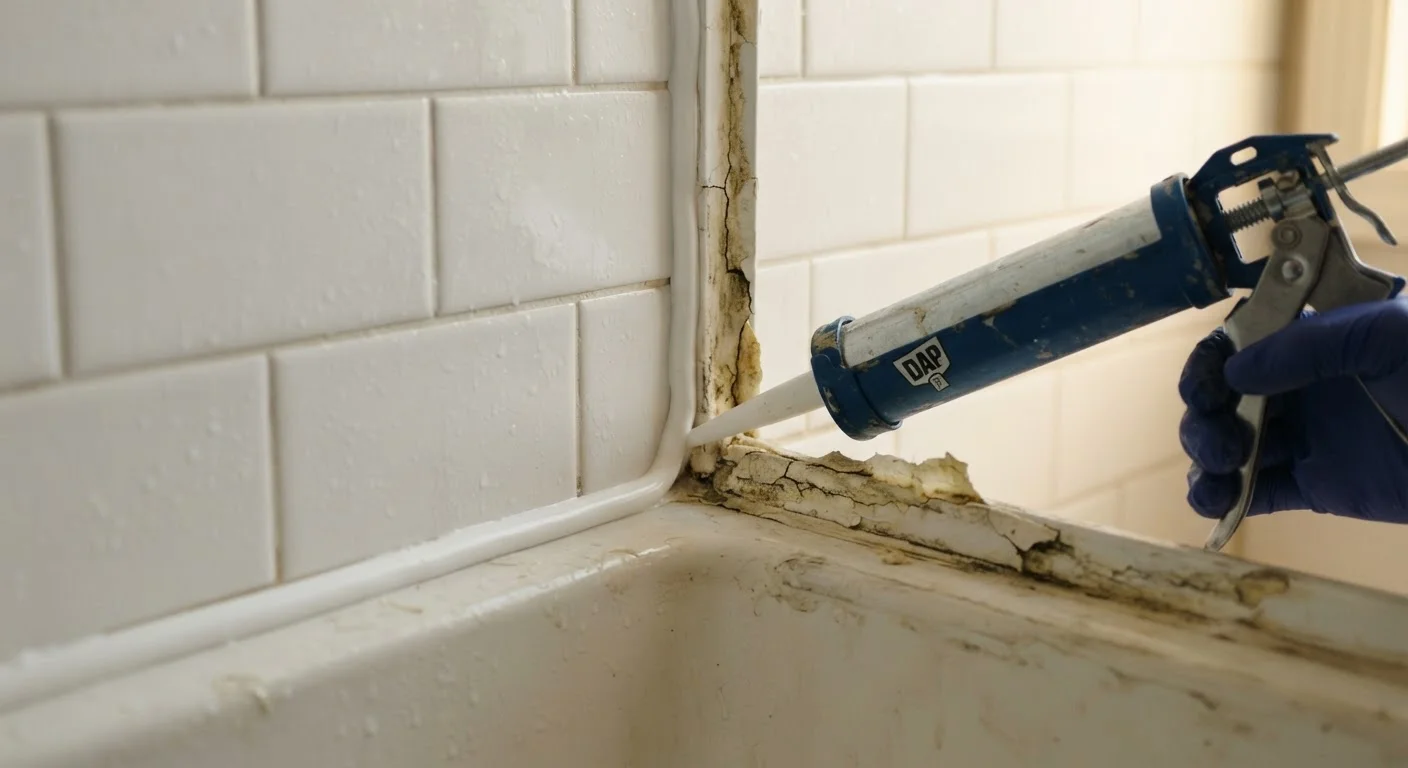
Layering new caulk directly over old, failing caulk.
Why it happens: Removing old caulk feels tedious, so many people simply apply a fresh bead on top, hoping it will stick.
Using the wrong type of caulk for the location.
Why it happens: Caulk is often treated as a single product, but formulations differ significantly. Paintable latex caulk used in a shower will break down quickly when constantly wet.
Applying too large or uneven a bead.
Why it happens: More caulk can feel like more protection, and beginners often cut the tube tip too wide or move too slowly, depositing excess material.
Skipping the tooling step after application.
Why it happens: The caulk looks sealed right out of the tube, so many people skip pressing it into the joint-unaware this step is critical for adhesion and waterproofing.
Ignoring joint movement when choosing and applying caulk.
Why it happens: Many joints-like where a tub meets the wall or where two different building materials meet-flex slightly as temperatures change or weight shifts. Rigid caulk cracks under this stress.
How to Set Your Caulk Job Up for Success
Avoiding mistakes is half the battle; building good habits for every caulk job is the other half. Before you pick up a caulk gun, inspect the joint carefully. Look for any old caulk, surface staining, or signs of persistent moisture. Address each issue in order: remove, clean, dry, then apply.
Never Caulk Over Mold or Mildew
If you see black or pink staining beneath old caulk, address the underlying moisture problem before recaulking. Sealing over mold traps it inside the joint, where it continues to grow and can eventually affect air quality and structural materials. Clean the area thoroughly and allow it to dry completely-ideally for 24 to 48 hours-before applying any new caulk.
When you're ready to apply, hold the caulk gun at a consistent 45-degree angle and push-don't pull-the bead along the joint. Pushing fills the joint more completely. Keep the tip moving at a pace that matches the flow of caulk so the bead stays uniform in width and depth.
Don't Rush the Cure Time
Most caulk labels specify a cure time distinct from the shorter 'dry to touch' window. Running water or flexing the joint before the caulk is fully cured-typically 24 to 72 hours depending on the product and humidity-can break the bond before it ever fully forms. Check the product instructions and plan accordingly.
After tooling, resist the urge to touch or test the joint. Let it cure undisturbed. A little planning-scheduling the job so the shower or sink can be left unused overnight-goes a long way toward a seal that holds for years rather than months.
Done right, a caulked joint is simple, durable, and genuinely protective. Done in a rush with the wrong materials on an unprepared surface, it's just a temporary patch. Take the extra time upfront, and you won't be back with the caulk gun again next season.
The content on this site is provided for informational purposes only and should not be considered a substitute for professional advice. While we strive to provide accurate and up-to-date information, we make no guarantees regarding its completeness or accuracy. Always consult a qualified professional for advice specific to your circumstances before making any decisions.