

Choosing the Right Repair Method
Not every hole is the same, and reaching for the wrong fix is the most common reason repairs stay visible. Understanding the three size categories helps you work efficiently and get a cleaner result.
Nail holes and small dents (under ¼ inch): These need nothing more than a tiny dab of lightweight spackling compound pressed in with a fingertip or putty knife. One coat, let it dry, light sand, done.
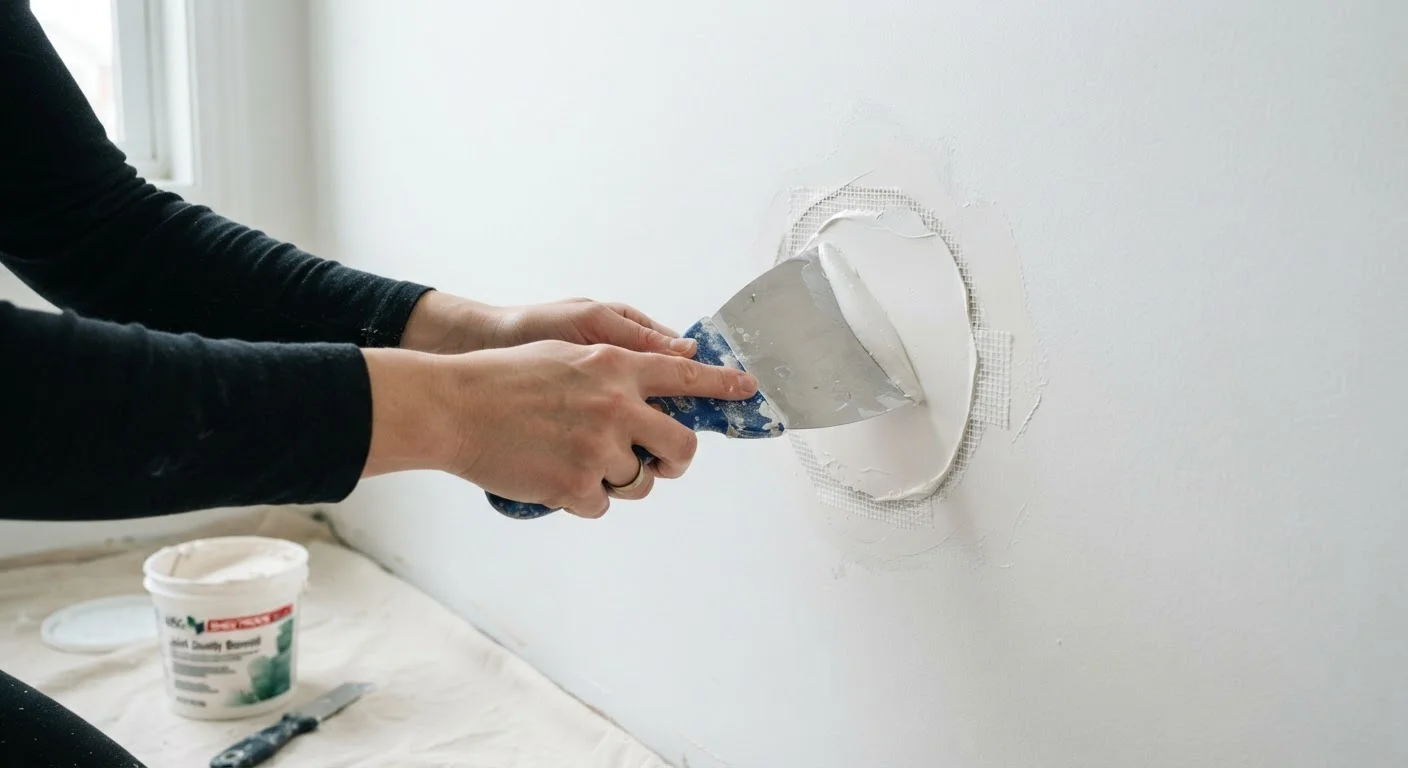
Medium holes (¼ inch to 4 inches): These are too large for spackling alone but not large enough to warrant cutting out a section of drywall. A self-adhesive mesh patch - available at any hardware store - bridges the opening and gives the joint compound something to grip. Apply two to three thin coats of all-purpose joint compound over the mesh, feathering each coat wider than the last.
Large holes (4 inches and up): These require a backing board method or a pre-cut drywall patch secured to wooden backing strips. Once the new drywall piece is fastened and the seams are taped with paper drywall tape, you finish it the same way as a seam in new construction - multiple thin coats of compound, feathered well beyond the patch edge.
What you will need
Step-by-Step: Patching a Medium Hole
The medium-hole repair is the most common scenario homeowners face - doorknob dents, anchor bolt removals, and old cable cutouts all fall in this range. Follow these steps for a result that disappears under paint.
Clean and prepare the hole
Remove any loose drywall paper or crumbling edges around the hole using a putty knife or your fingers. The edges should be firm and flat. Wipe away dust with a damp cloth and let the area dry completely before proceeding.
Apply the mesh patch
Center the self-adhesive mesh patch over the hole and press it firmly onto the wall. Smooth out any air bubbles from the center outward. The mesh should lay flat with no lifted edges, since loose mesh will telegraph through your compound coats.
Apply the first coat of joint compound
Load your 6-inch putty knife with a modest amount of all-purpose joint compound. Spread it across the mesh in smooth, even strokes, pressing firmly so compound fills the mesh openings. Feather the edges - gradually thinning the compound out to nothing - about 2 inches beyond the patch border. This first coat does not need to be perfect; its job is to fill and embed the mesh.
Sand, then apply a second (and third) coat
Once the first coat is bone dry (typically 4-8 hours depending on humidity), lightly sand with 120-grit to remove ridges. Wipe away dust. Apply a second coat using your 10-inch knife, feathering it 2-3 inches wider than the first coat. Repeat the process: dry completely, sand lightly, then apply a third finishing coat if any unevenness remains. Your final surface should feel flush with the surrounding wall when you run a hand across it.
Final sand, prime, and paint
Do a final pass with 220-grit sandpaper to achieve a smooth, paint-ready surface. Remove all dust thoroughly with a tack cloth. Apply drywall primer to the patched area, allow it to dry per the manufacturer's guidance, then paint to match the surrounding wall. For best color blending, roll paint slightly beyond the primed patch into the surrounding wall.
Keep Compound Moist Between Coats
Press plastic wrap directly onto the surface of unused joint compound in the container before sealing the lid. This prevents a hard skin from forming overnight. Never add water to thinned compound and then re-thicken it - it weakens the bond and increases cracking risk.
Finishing and Painting for an Invisible Repair
The patch work itself is only half the job. How you finish the surface determines whether the repair becomes invisible or stays visible as a ghost outline forever.
Sand between coats: Once each coat of compound is completely dry (it turns from gray to bright white), use 120-grit sandpaper to knock down any ridges or trowel lines before applying the next coat. Finish with 220-grit for a smooth surface ready for primer.
Prime before you paint: Joint compound is highly porous. Painting directly over an unprimed patch causes the compound to absorb moisture from the paint unevenly, leaving a dull, flat spot called flashing - even after multiple topcoats. Apply a drywall primer or PVA primer to the patched area and let it dry fully before any paint goes on. This single step is what separates invisible repairs from obvious ones. For a full breakdown of why prep matters, see our guide to paint prep mistakes.
Match the texture: If your walls have a texture - orange peel, knockdown, or light skip trowel - replicate it before priming. Spray texture in a can works well for small areas; practice on cardboard first to dial in the pattern and distance before applying it to the wall.
The content on this site is provided for informational purposes only and should not be considered a substitute for professional advice. While we strive to provide accurate and up-to-date information, we make no guarantees regarding its completeness or accuracy. Always consult a qualified professional for advice specific to your circumstances before making any decisions.